

Rina’s Random Revit-isms # 4
Goo no more!!
This is a series of Revit tips and war stories inspired by my daily experiences working with the software
Grey goo in my sinks!!
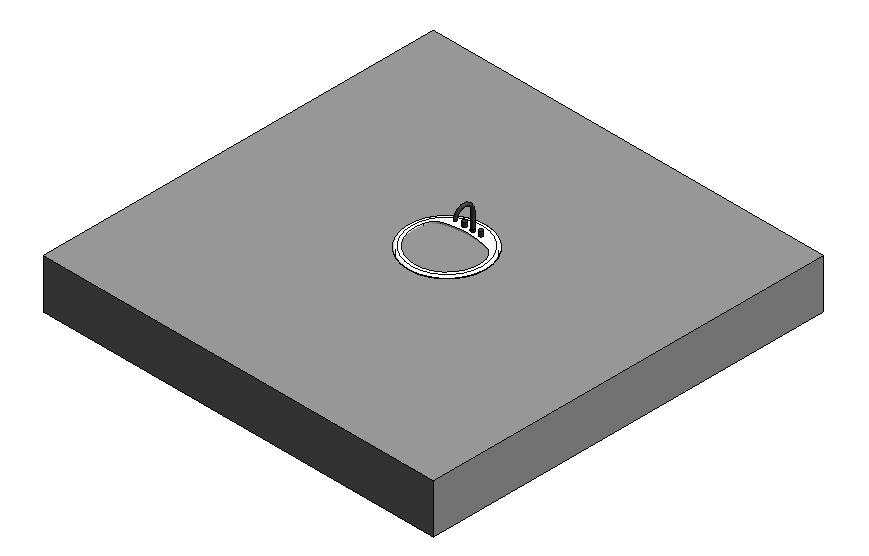
You have modeled countertops with loving attention to the form and visibility of the front edge, side and back splashes, but when you place instances of the sink family of choice and step back to admire your creation in shaded 3D glory, the sinks are filled with grey goo. Yuck

Here’s the workaround…….
Start a new Face Based Generic Model Family.

Open the Bad Sink Family. Make sure that it is Shared – this will force it to Schedule correctly

Nest the Bad Sink into the new Face Based family. Either of these two tools will do the needful.
In the new Family – place the nested Sink in the provided solid as it would sit in the countertop
Now comes the crucial part. Model a Void of the desired shape and depth. Place it appropriately in the host.
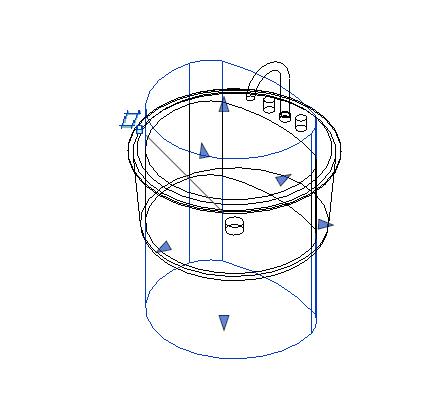
and THEN use the Cut tool to cut the Void out of the solid. Switch Categories from Generic Model to Plumbing Fixture

Note – For further effect, I create a new subcategory, assign the host to that, and turn it off in VG. Makes for a much prettier preview
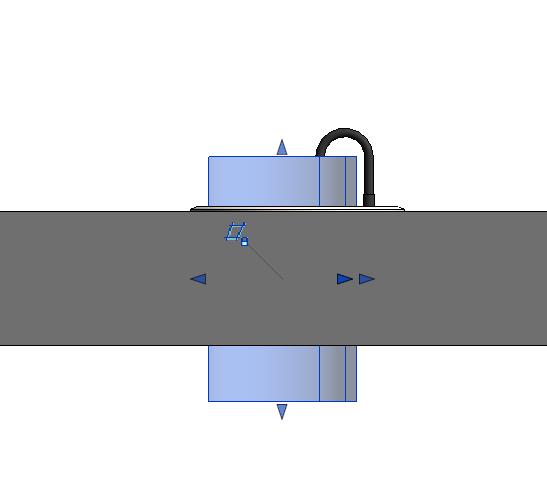
Load the Family into your project. Make sure to click the button to place the instance on a Face. Step back and rejoice. Goo no more.
Why does this work? It’s the magic of face based Voids being the cutting pieces that stop for no one.
Tip – for undermount sinks be prepared to create a void for below the counter and another to cut through the counter.
For a Summary – please see this Screencast